Grandma's Attic, Digitized: Preserving Family History Through Oral History Projects
ElderVoice
February 17, 2026
Key takeaways
- Oral history projects preserve family stories and strengthen intergenerational bonds.
- Simple, accessible methods like phone calls and audio recorders can be used, even with seniors who dislike technology.
- Collaborative storytelling makes the process enjoyable and creates a lasting legacy for future generations.
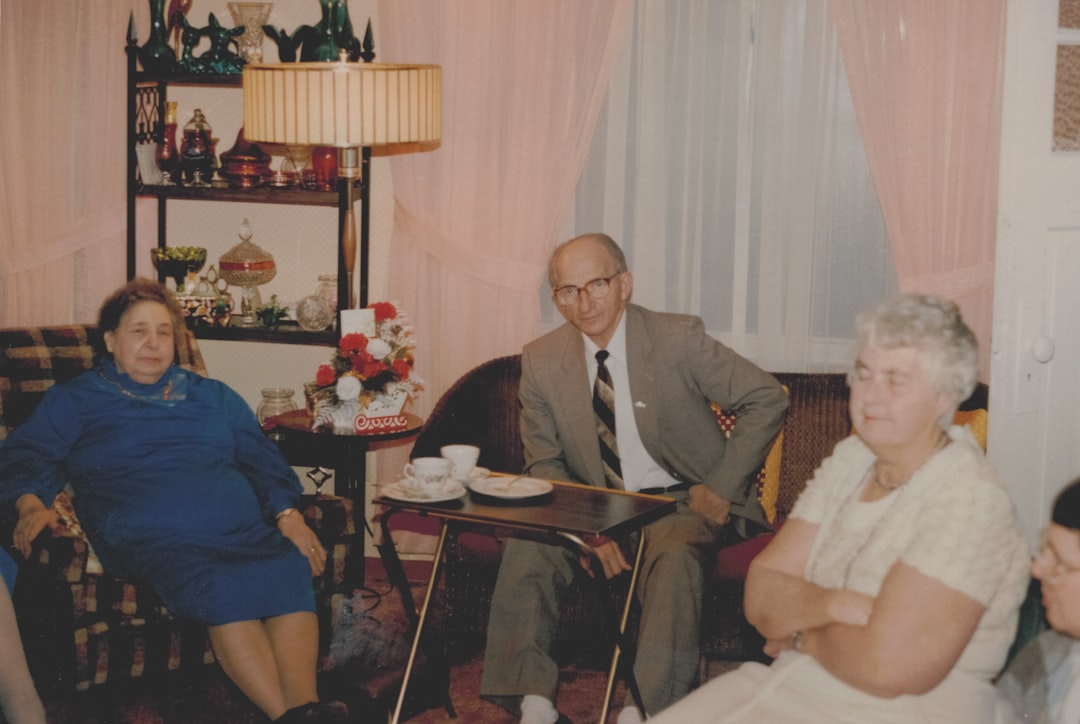
It was last Thanksgiving, and the usual chaos reigned. Kids were screaming, the turkey was… well, let’s just say it was aggressively browned. But amidst the din, I noticed my Aunt Carol sitting quietly with Grandma Rose, a small recorder between them. I caught snippets – tales of escaping war-torn Europe, of my grandfather’s terrible jokes, of a dress Grandma Rose made for her first date. It was magic.
Later, Aunt Carol explained she was creating an oral history. Grandma Rose, usually resistant to anything tech-related, was completely captivated. It got me thinking: how many stories were we losing simply because we weren't asking?
Oral history projects are about more than dates and places. They're about capturing the essence of a person, a family, a legacy. And you don't need fancy equipment or advanced tech skills to do it. Here’s how to get started, even if your grandma thinks a smartphone is a weapon of mass destruction.
What is an Oral History Project, Anyway?
Simply put, an oral history project is a way to record and preserve personal memories and stories through spoken interviews. It’s a way to document history from a personal perspective, adding richness and depth that traditional written records often miss. Think of it as a conversation with a purpose – to capture a life, a time, a feeling before it's gone. It's a chance to hear your loved one's voice tell the stories that have shaped your family. In essence, it’s about turning fleeting memories into a lasting legacy.
Why Bother Creating an Oral History Project?
Beyond the obvious benefit of preserving family stories, oral history projects offer a ton of other advantages:
- Strengthening Family Bonds: Sharing stories creates connections. It's a chance for different generations to learn about each other and appreciate their shared history.
- Cognitive Stimulation: For seniors, reminiscing can be a great mental workout. It encourages them to recall details, organize their thoughts, and share their experiences. This can be particularly beneficial for people living with early-stage memory loss, as discussed in this ElderVoice article about genealogy for seniors.
- Sense of Purpose: Sharing their life story can give seniors a renewed sense of purpose and value. It's a way for them to feel heard and appreciated, and to know that their experiences matter.
- Preserving History: You're not just capturing family stories; you're contributing to a broader historical record. Personal narratives offer unique insights into historical events and cultural shifts. As oral historian Alessandro Portelli said, "Oral history is not just another source; it changes the nature of historical knowledge."
How to Plan Your Oral History Project: Setting the Stage
Before you even think about pressing record, some preparation is key.
- Talk to Your Senior: The first step is to discuss the idea with your loved one. Explain what you have in mind and why you think it would be meaningful. Make sure they're comfortable with the idea and that they understand what's involved. Let them know they have complete control over what they share and that they can stop at any time. One woman on Reddit shared that her grandmother initially resisted, but after seeing how excited the grandchildren were, she became the project's biggest advocate. (Names changed, of course.)
- Choose a Focus (Optional): While you can certainly let the conversation flow naturally, having a general focus can be helpful. You might focus on a specific time period (childhood, wartime experiences), a particular theme (family traditions, career), or a specific person (a beloved relative). This can help guide your questions and keep the conversation on track. But don't be afraid to deviate if an interesting story comes up!
- Gather Materials: Collect any relevant photos, documents, or artifacts that might spark memories. Old photo albums, letters, family heirlooms – anything that can help jog their memory and bring the past to life. I remember showing my grandfather a picture of his old Ford pickup. He launched into a 30-minute story about a road trip he took with his brothers, a story I'd never heard before.
- Choose Your Recording Method: This is where you need to consider your senior's comfort level with technology. More on that in the next section.
- Prepare Questions: Brainstorm a list of questions to ask. Think open-ended questions that encourage storytelling, rather than simple yes/no questions. Here are a few examples:
Don't feel like you have to stick to the script. These are just prompts to get the conversation started. Let the stories lead you where they may.
Tech-Timid? No Problem! Accessible Recording Options
Okay, let's address the elephant in the room: technology. Many seniors are intimidated by it, and the thought of using complicated recording equipment can be a major turnoff. But don't let that stop you! There are plenty of low-tech and accessible options available.
- The Phone Call Method: This is perhaps the simplest option. Use your smartphone (or even a landline) to call your senior and record the conversation using a call recording app. Many smartphones have built-in recording features, or you can download a free app from the app store. Just be sure to let your senior know you're recording the call. A service like ElderVoice can be used for regular check-in calls, and these conversations can sometimes lead to valuable memories being shared organically.
- The Simple Audio Recorder: A basic digital audio recorder is another easy-to-use option. These recorders are relatively inexpensive and have simple controls. Just press record and start talking. You can find them online or at most electronics stores.
- The Tablet (with a Catch): While tablets can be overwhelming, some have very user-friendly recording apps. If your senior is already comfortable with a tablet, this might be a good option. But don't force it if they're not. Companies like ElliQ offer companion robots that can record conversations, but if your loved one finds them unsettling, stick to simpler methods.
- The "Old School" Method: Believe it or not, a cassette recorder can still work! If your senior is already familiar with cassette tapes, this might be the most comfortable option. Just make sure you have a way to digitize the recordings later.
| Recording Method | Pros | Cons | Tech Skill Level |
|---|---|---|---|
| Phone Call | Simple, convenient, familiar | Audio quality may be lower | Low |
| Audio Recorder | Good audio quality, easy to use | Requires a separate device | Low |
| Tablet App | Good audio quality, versatile | Can be overwhelming for some seniors | Medium |
| Cassette Recorder | Familiar to some seniors | Requires digitization, lower audio quality | Low |
The Interview: Listening is Key
Okay, you've planned your project, gathered your materials, and chosen your recording method. Now it's time for the interview itself. Here are a few tips to keep in mind:
- Create a Relaxing Atmosphere: Choose a quiet, comfortable setting where you and your senior can relax and focus on the conversation. Offer them a cup of tea or coffee, and make sure they're comfortable.
- Be Patient: Reminiscing can take time. Be patient and allow your senior to tell their stories at their own pace. Don't interrupt or rush them.
- Listen Actively: Pay attention to what your senior is saying, both verbally and nonverbally. Make eye contact, nod your head, and offer encouraging comments. Show them that you're genuinely interested in what they have to say.
- Ask Follow-Up Questions: Don't be afraid to ask follow-up questions to clarify details or explore interesting tangents. This shows that you're engaged and encourages your senior to elaborate on their stories. For example, if they mention a particular event, ask them what it felt like to be there, or what they remember most about that day.
- Be Respectful: Some memories may be painful or difficult to share. Be respectful of your senior's feelings and don't push them to talk about anything they're not comfortable with. It's okay to change the subject or take a break if things get too emotional.
- Don't Correct Them: This isn't about historical accuracy; it's about capturing their memories as they remember them. Even if they get some details wrong, don't correct them. Let them tell their story in their own way. As the saying goes, "Never let the truth get in the way of a good story!"
- Keep it Short: Hour-long interviews can be exhausting. Aim for shorter sessions (30-45 minutes) and break it up into multiple sessions. This will help keep your senior engaged and prevent them from getting overwhelmed.
Preserving and Sharing Your Oral History
Once you've recorded your oral history, it's important to preserve it for future generations.
- Digitize Your Recordings: If you used a cassette recorder, you'll need to digitize the recordings. There are services that can do this for you, or you can do it yourself with a cassette-to-digital converter.
- Create Transcripts (Optional): Transcribing your recordings can make them more accessible and easier to search. This can be a time-consuming process, but there are transcription services available that can help. AI is also rapidly improving in this area; just be prepared to correct errors.
- Store Your Recordings Safely: Store your digital recordings in multiple locations, including a cloud storage service and an external hard drive. This will protect them from loss or damage.
- Share Your Oral History: Share your oral history with family members, friends, and even local historical societies. You can create a website, a blog, or even a simple slideshow presentation. The goal is to make the stories accessible and to ensure that they're not forgotten. Consider adding the stories to family trees you might be working on. It adds depth and humanity to those names and dates.
Legal and Ethical Considerations
Before you start your oral history project, it's important to be aware of a few legal and ethical considerations.
- Consent: Always obtain informed consent from your senior before you start recording. Explain what you plan to do with the recordings and make sure they understand that they have the right to control how their stories are used.
- Copyright: You own the copyright to your recordings, but your senior owns the copyright to their stories. You'll need their permission to share or publish their stories.
- Privacy: Be mindful of privacy concerns. Avoid asking questions that are too personal or that might reveal sensitive information. Respect your senior's wishes if they don't want to talk about certain topics.
Beyond the Interview: Creative Ways to Celebrate Family History
An oral history project is just the beginning. There are many other creative ways to celebrate and share your family history.
- Create a Family Cookbook: Gather recipes from your senior and other family members and create a family cookbook. Include stories about the recipes and the people who made them. Food is powerful stuff, and often tied to great memories.
- Make a Family Documentary: Use your oral history recordings, photos, and videos to create a family documentary. This can be a fun and engaging way to share your family history with future generations.
- Write a Family Memoir: Use your oral history recordings as the basis for a family memoir. This can be a more in-depth and personal way to tell your family's story.
- Plan a Family Reunion: Use your oral history project as a theme for a family reunion. Share stories, photos, and videos, and encourage family members to share their own memories.
"If you don't know where you've come from, you don't know where you're going." — Maya Angelou
Creating an oral history project is an investment of time and effort, but it's an investment that will pay dividends for generations to come. It's a way to honor your loved ones, preserve your family history, and create a lasting legacy.
It's about connecting, remembering, and celebrating the unique tapestry of your family's story. And who knows? You might even discover a few family secrets along the way.
How can I help my parent feel comfortable sharing personal stories?
Creating a safe and supportive environment is key. Start by explaining the purpose of the project and emphasizing that their stories are valuable and important. Listen actively, show empathy, and avoid judgment. Share some of your own stories to build trust and rapport. Focus on creating a comfortable and enjoyable experience, and let them know they're in control of what they share.
Frequently asked questions
What if my parent has dementia or memory loss?
Even with memory loss, there are ways to capture meaningful memories. Focus on specific time periods or events that they remember well. Use photos and other prompts to jog their memory. Keep the sessions short and focus on positive experiences. Remember that the goal is not to create a perfect historical record, but to capture their memories and emotions as they are in the moment.
How do I deal with difficult or painful memories?
Be respectful of your parent's feelings and avoid pushing them to talk about anything they're not comfortable with. If they become upset, offer comfort and support, and suggest taking a break. It's okay to change the subject or stop the interview altogether. The goal is to create a positive and meaningful experience, not to re-traumatize them.
What if my parent refuses to participate?
Respect their decision. Don't try to force them to do something they don't want to do. However, you can try to gently encourage them by explaining the benefits of the project and emphasizing how much it would mean to you and future generations. You might also try involving other family members or friends who they trust.
How do I store and organize the recordings and transcripts?
Create a consistent naming convention for your files. Use descriptive names that include the date, the person being interviewed, and the topic of the interview. Store the files in multiple locations, including a cloud storage service and an external hard drive. Consider using a transcription service or software to create transcripts, which can make the recordings more searchable and accessible.
What resources are available to help me with my oral history project?
There are many online resources available to help you with your oral history project. The Oral History Association (oralhistory.org) offers resources, guides, and best practices. Local libraries and historical societies may also offer workshops and resources. Don't be afraid to reach out to other oral historians or family history enthusiasts for advice and support.
Sources
- Oral History Association (2024)